Samsung is adding up among the top best manufacturers and is popular for its Galaxy flagship smartphones. In 2018, the corporation did another remarkable work with their latest models, Galaxy S9 & Galaxy S9 Plus, to acclimate the latest trends in the marketplace regarding the phones. These models were launched in March 2018. After the release, these phones turned out as the paramount Galaxy flagships to date.
These Android phones include all the innovative and latest features, the best intuitive design, the hardware and software, the best compatibility, and everything that can be found in an excellent smartphone. Despite all the up-to-date features, users might habitually want to customize the software beyond what the creator has to offer. The best way for you is to Root Galaxy S9 and S9 Plus as mentioned in this article. This way is more convenient to solve the problem and provides you with more advanced customization to your phone.
By root, Galaxy S9 or S9 Plus will deliver you a surplus of options to customize your phone’s software. There is the same strategy to root Galaxy S9 as well as root Galaxy S9 Plus. So, rooting Samsung s9 or rooting Samsung s9 plus is not a tough task. Even you can easily root your S9 plus root Android 10 or S9 by following a single method that saves you from the headache of choosing which one is a batter or not. Yet, as you know, rooting a device means altering or changing its default functions, so you should have to be careful to save yourself from severe loss.
To avoid any annoying circumstances, first take a look at some precautions, required procedures, or devices. By knowing all this, the chances will be increased that you will use Root Galaxy S9 and S9 Plus Device successfully.
Methods to Root Galaxy S9 and S9 Plus
Follow some steps to root Samsung S9 or S9 plus successfully. All the steps mentioned in the article are entirely explained for your ease.
1. Root the Samsung S9 and S9 Plus via Flash Magisk
This is the additional setup of the process connected with TWRP to root your phone.
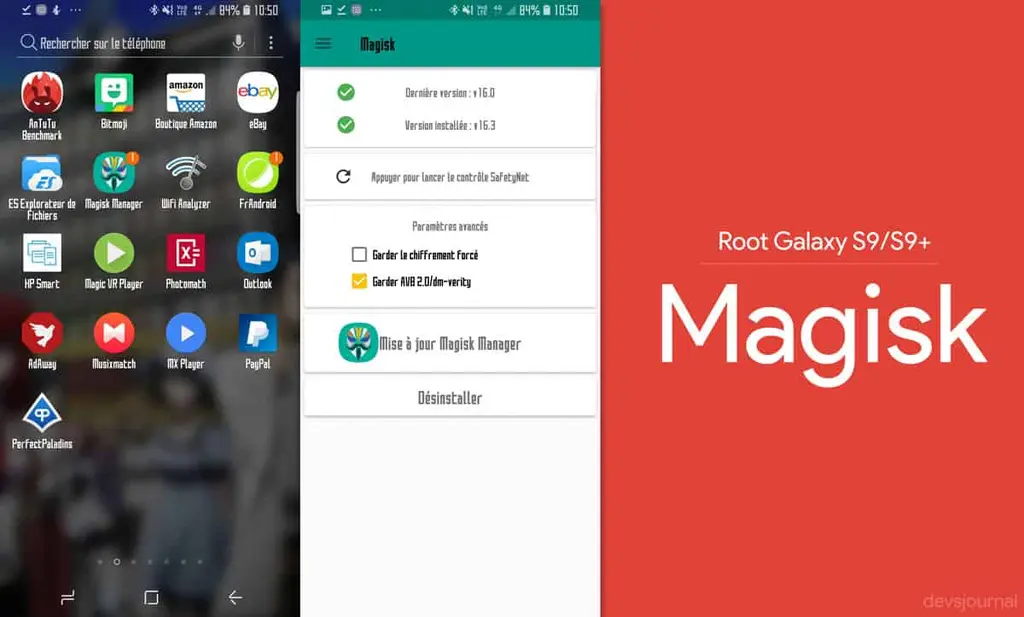
Step 1: First, “Download the Magisk installer ZIP file” latest version on your PC.
Step 2:“Attach your Galaxy phone to the PC” through the USB cable.
Step 3: Go to the ‘Mount Menu” in TWRP.
Step 4: Press the ‘Enable MTP’ button.
Step 5: Transfer the Magisk installer ZIP file (e.g., Magisk-v21.0.zip) to the phone’s internal storage.
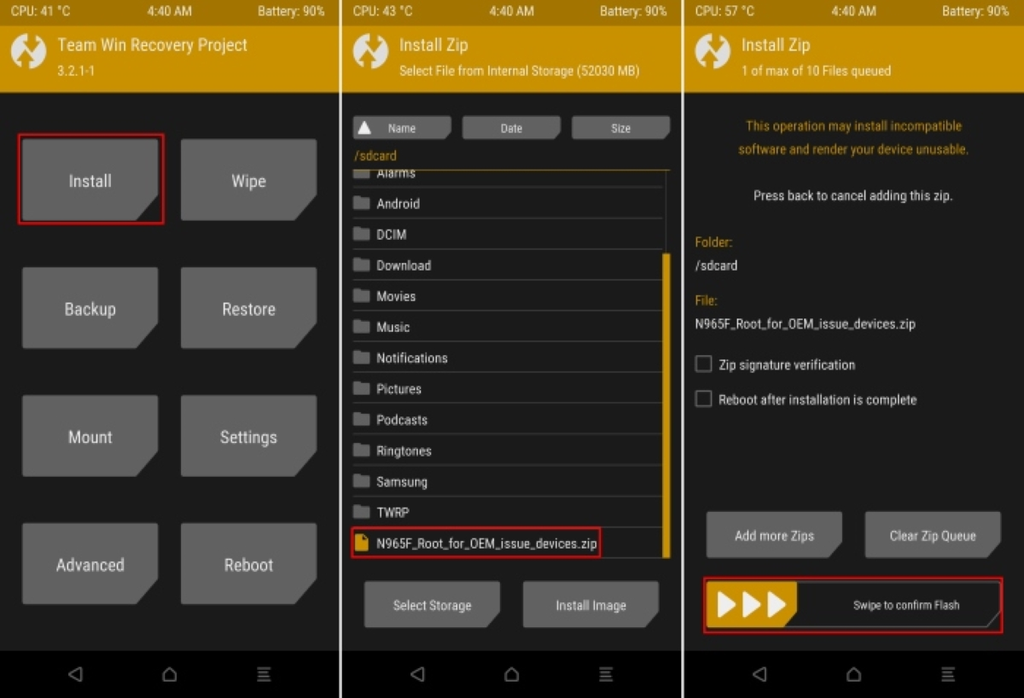
Step 6: Now, disconnect your Galaxy S9/S9 Plus and go back to the TWRP main screen. Step 7: Press the ‘Install’ button and select the Magisk installer ZIP file from the phone’s internal storage.
2. Root the Samsung S9 and S9 Plus Manually
You only need to go through three simple steps to root your Samsung S9/S9 Plus Android Device manually.
Step 1: “Go to Settings” to Activate Developer Options & OEM Unlock.
Step 2: “Install TWRP Recovery File” now on your Samsung Galaxy S9/S9 Plus Device.
Step 3: Now utilize “Flash Encryption Disabler & KG/RMM Bypass ZIPs via TWRP.
Although, if you are a binger or a new Samsung user, keep reading the article. Because here, we will also explain all the steps in detail that will make the process easy for you to reach every function most conveniently. These steps are elaborated next
Step 1 Elaborated:
- First, for installing TWRP and root, you should have enabled OEM Unlocking from the Main Menu Settings of your Galaxy Device.
- For this, simply “Click to the Settings > About Phone.”
- After that, read out all software-related information and then give a few taps on the ‘Build number.’
- Here a salute notification will appear – “Enabled Developer mode.”
- Once it’s done, go back to the “Main Settings” and tap on the ‘Developer options.
- Scroll down and find out the ‘OEM Unlocking toggle.
- Now finally, “Turn the option ON.”
Note: In case the option does not get visible on your device, it means your Android retrieves it to enter for a seven-day buffer period. At that time, you can try the available instructions one by one regarding the software. If you find the ‘OEM Unlocking’ option activated after this period, then it means your phone is rooted successfully while, on the other hand, reattempt the process again for going further. After its successful completion, go to the next step.
Step 2 Elaborated:
- First of all, “Download the TWRP Recovery file.”
- “Give Double-click onto the Executable File” to launch the flash tool on your terminal.
- “Hold the Keys,” Volume Down, Bixby, & Power tab altogether.
- “Press the Volume Up button” to add the Download Mode on your Galaxy Phone on the display screen.
- As the programming window loads, the “Added!!” option will appear in the notification bar and the ID: COM port, now “Click on the ‘AP’ tab under the ‘Files’ fragment” and “Pick the TWRP recovery (.tar) file” to run it on your device (just make sure that the ‘Auto Reboot’ box is inactivated in the ‘Options’ tab).
- Finally, Tap to the ‘Start’ button and install TWRP recovery on your Samsung Galaxy S9 /S9 Plus device.
Note: The flashing procedure would take a little time to complete. Yet, it’s finished, your Android shall remain in Download Mode.
Step 3 Elaborated:
Now finally, disable encryption on your Samsung Galaxy S9 and S9 Plus. It is possible if your TWRP has already decrypted to your phone’s storage successfully. You must have to format the data divider panel and flash the related Encryption Disabler zip file as well.
- “Go to the Wipe Menu” and click on ‘Format Data.’
- Enter ‘Yes’ in the provided field for the total format of the data partition, even including internal storage.
- Once it is finished, Scroll to the “Reboot Menu” in TWRP as well as “Press the Recovery Button” to reboot the Android device into TWRP.
- After booting the phone, “Go to the Mount Menu” back into TWRP.
- Now select the “Enable MTP” tab and connect the phone to the PC with the help of a USB cable.
- Download DM-Verity Disabler now or KG/RMM State Bypass zip file if you have an Android Pie/Oreo from the ‘Downloads’ section.
- “Transfer these files to the internal storage of your phone and then remove the device from the PC.
- After that, “Go to the Install Menu in TWRP,” then “Select the Encryption Disabler zip” that is available.
- “Swipe the tab” getting flash the file.
- Now, “Disable encryption” on your Samsung S9/S9 Plus Phone, or in case your mobile is running as Android Pie/Oreo. It’s required to repeat the installation method again and Flash State Bypass zip file to avoid your phone from getting locked again.
Note: You need to install the flash KG/RMM Bypass zip file only when your smartphone runs through Android Pie or Oreo. Because it’s not compatible with Android 10, otherwise, you will not require to do this procedure. Although, if you will face an error message like failed to mount you can ignore it because it’s still safe.
Final Words
That’s all you have to do. Here you will find two different methods to Root your Samsung S9/S9 Plus. Both the methods are described in detail for your comfort. Hope that after reading this article, you will be able to root your smartphone successfully without facing any trouble.